Let’s start our blog creation
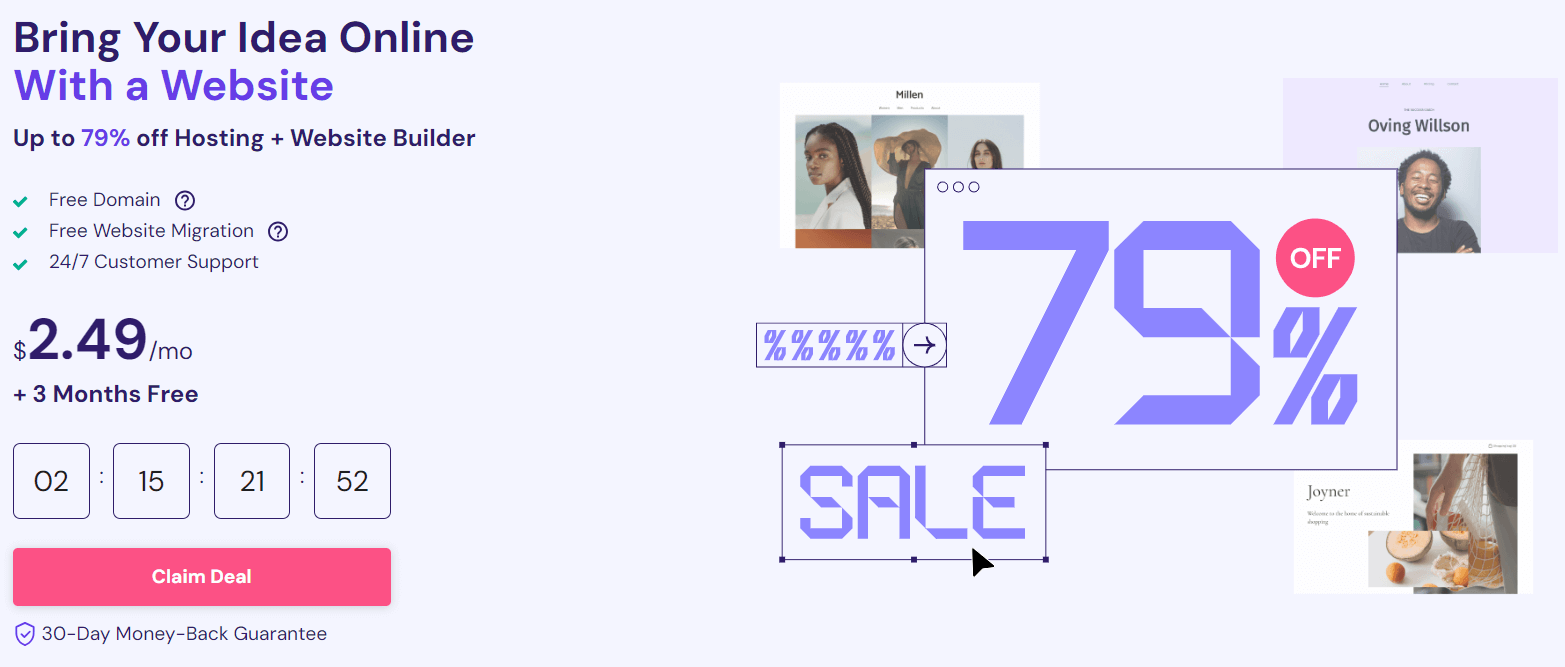
1. Click here by January 28th to get the New Year’s Sale price of $2.49 per month on Hostinger and then click “get started now”.
Disclosure: Hostinger compensates The Blog Starter when you purchase with this discount link, so all of my help is free of charge to you! Contact me if you have any trouble starting your blog.
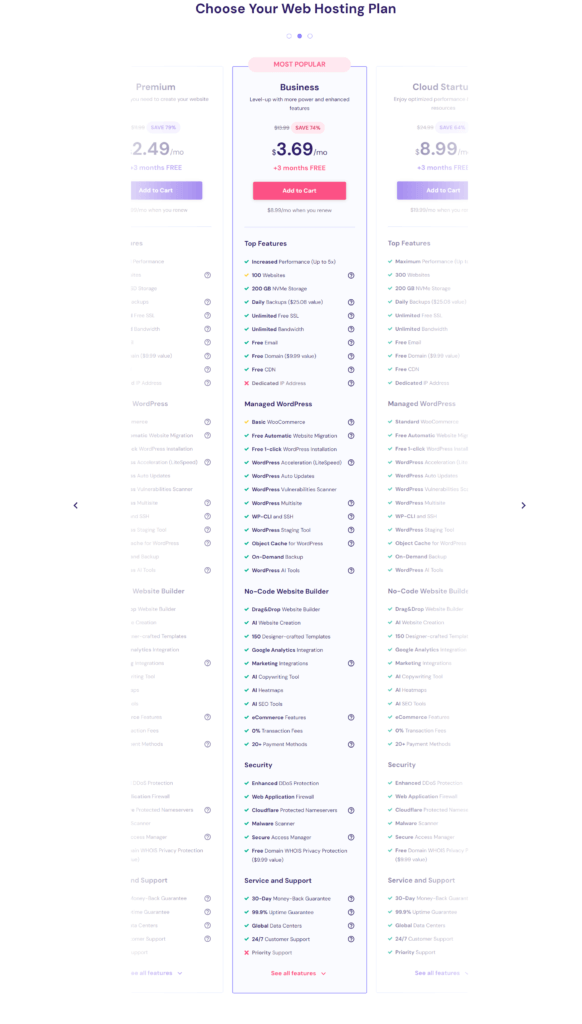
2. Select your plan. The Premium plan is the one I recommend for new bloggers. Click “Add to cart” to choose your plan.
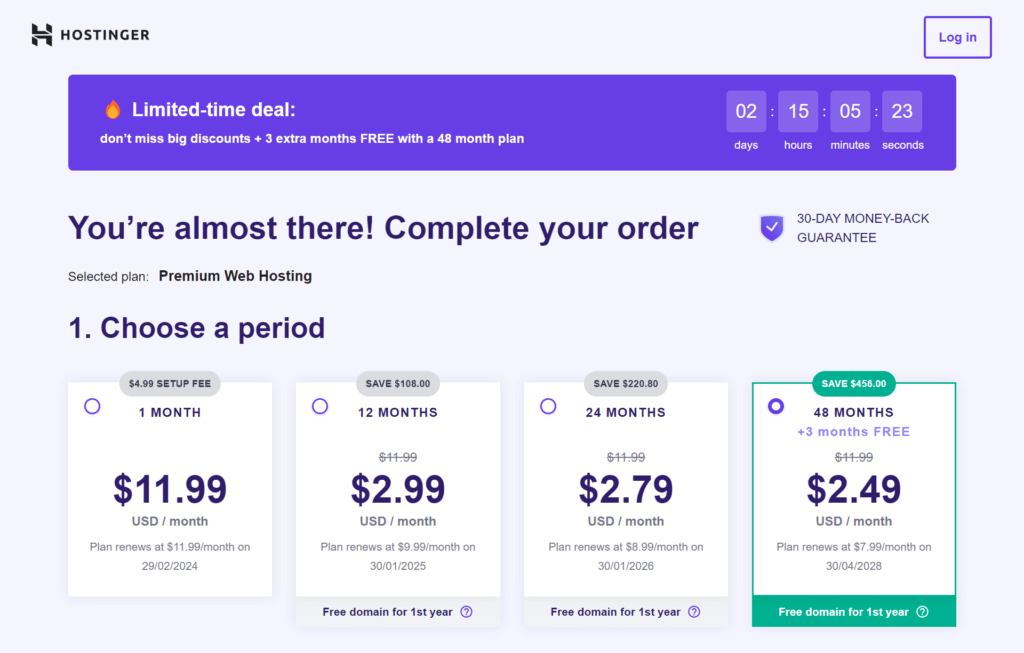
3. Choose the perfect Period for you
- Choosing the period is your choice no matter what you choose, pay as you can and as you need
4. Feel your email and password or register with your Gmail.
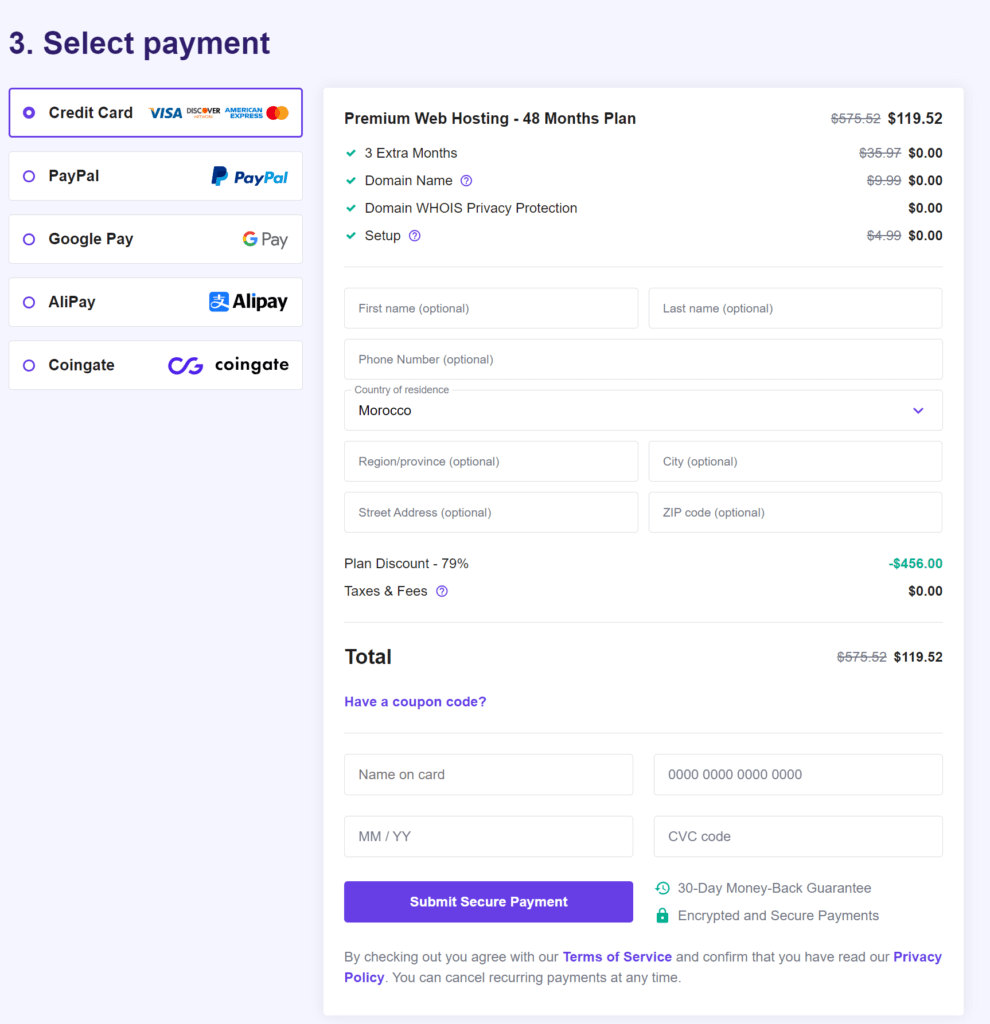
5. Now select your payment type and submit, we will setup the free domain name in dashboard.
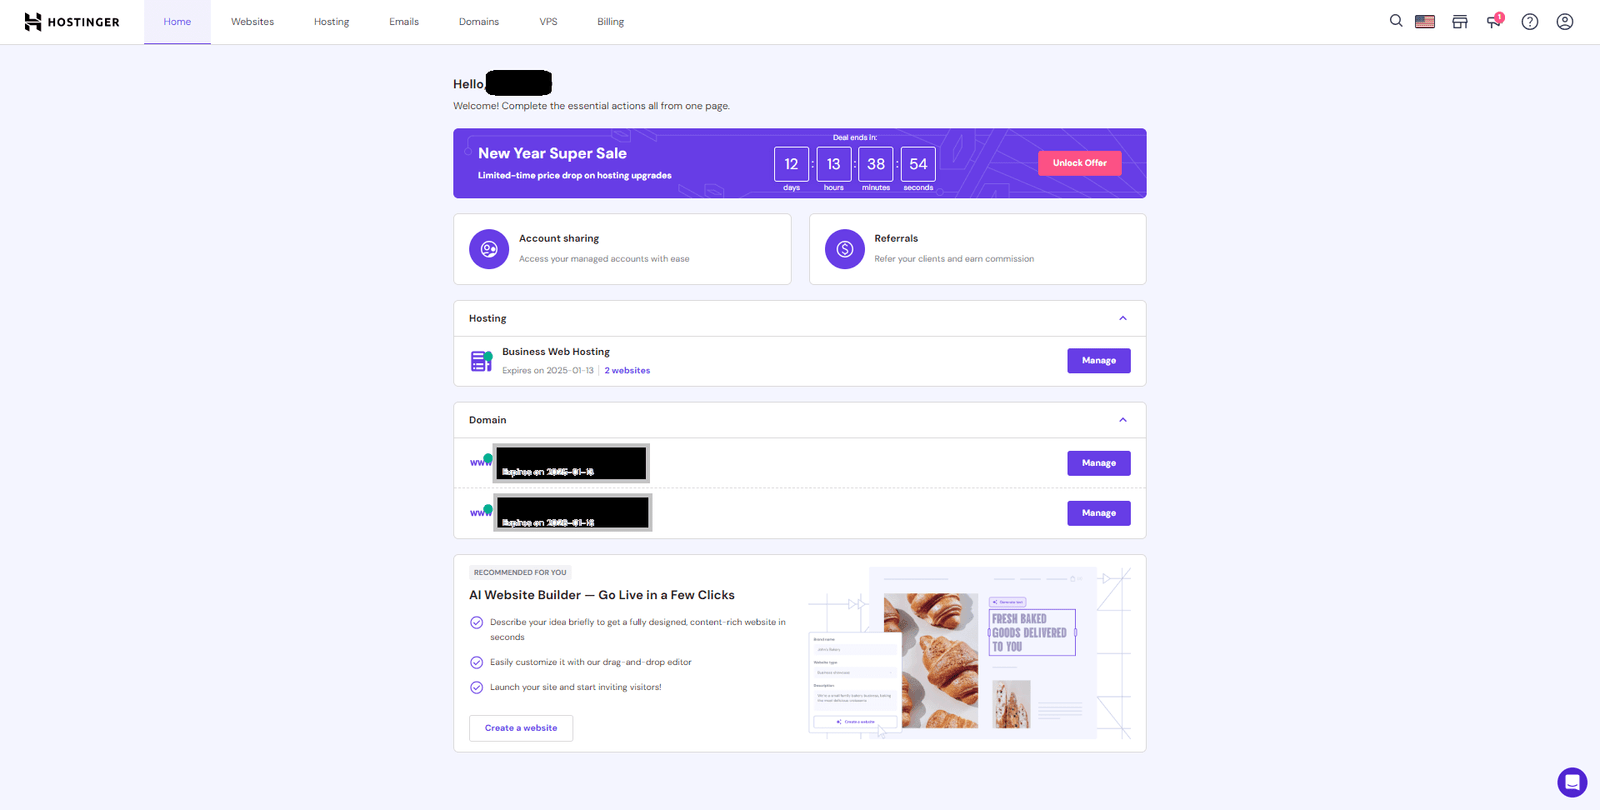
6. After you complete the payment process you will be on your dashboard where all the magic is cooked.
- in your dashboard as you can see you have your hosting plan that you choose before, so let’s add a free domain name to our web host
7. Now click on domains tab, after click on Get a new domain.
- That’s why I love Hostinger. AI is on its way. No more hard steps. All is easy, so as you can see, we have two ways to find a domain name. The first is by writing the exact name, and the second is by AI-generating.
8. When you pick a domain name
- you will find that some are free and others are for a small price for the first year. Choose a free one.
9.Link your domain name to your host and install WordPress
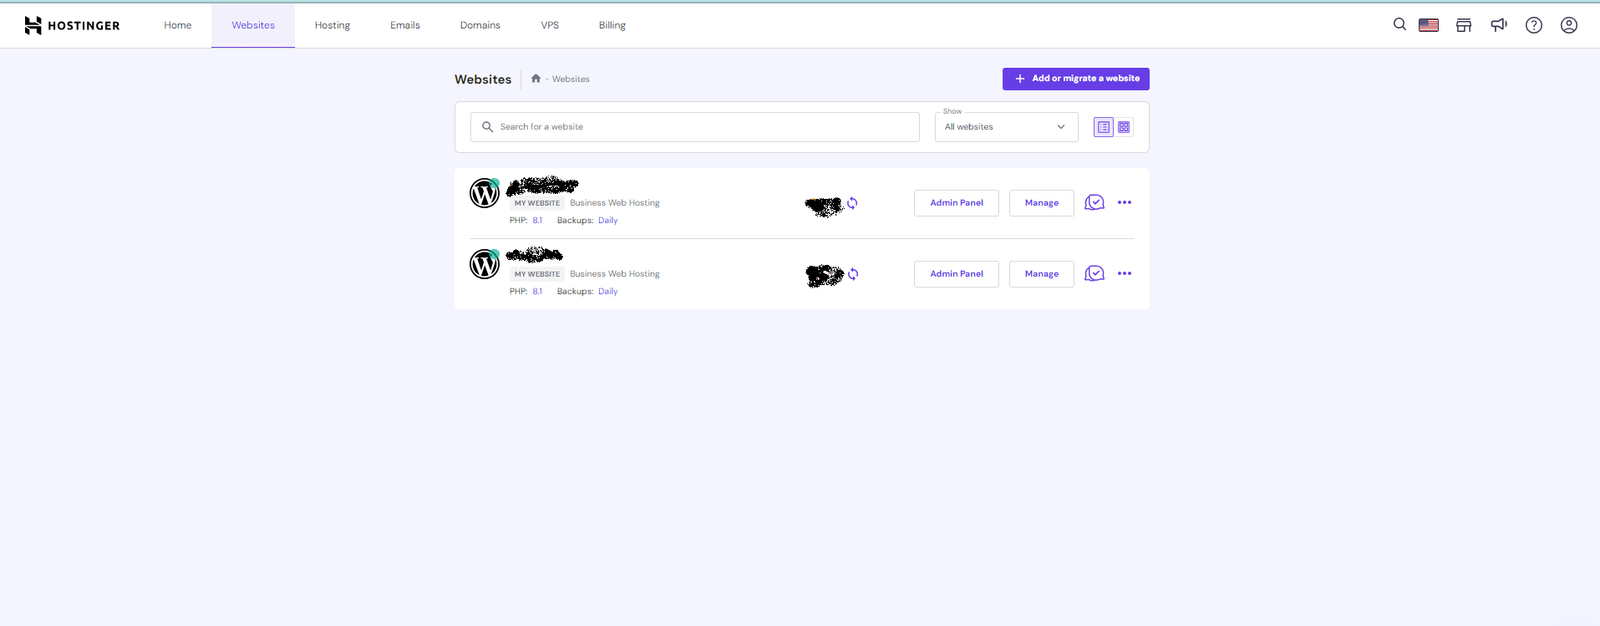
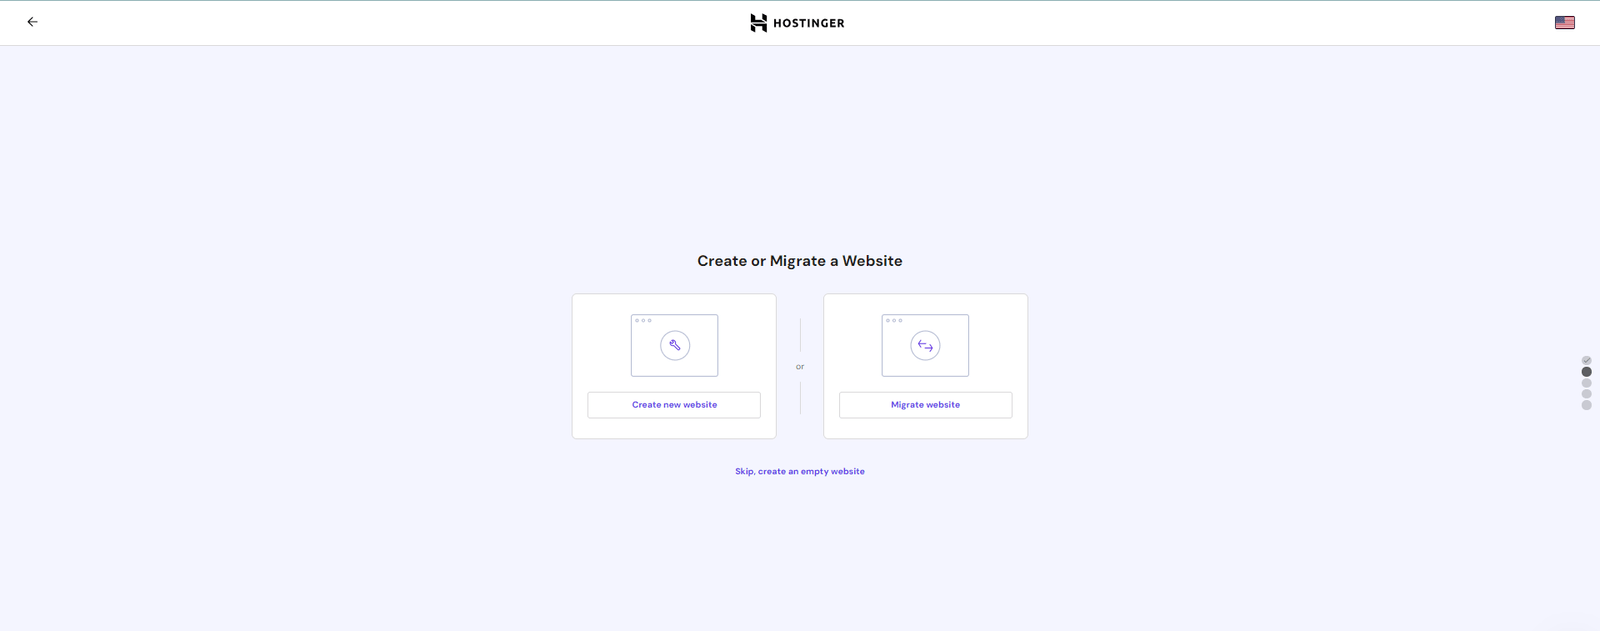
- Click ”Add or migrate a website” this will take you to another page to start installing WordPress an your hosting
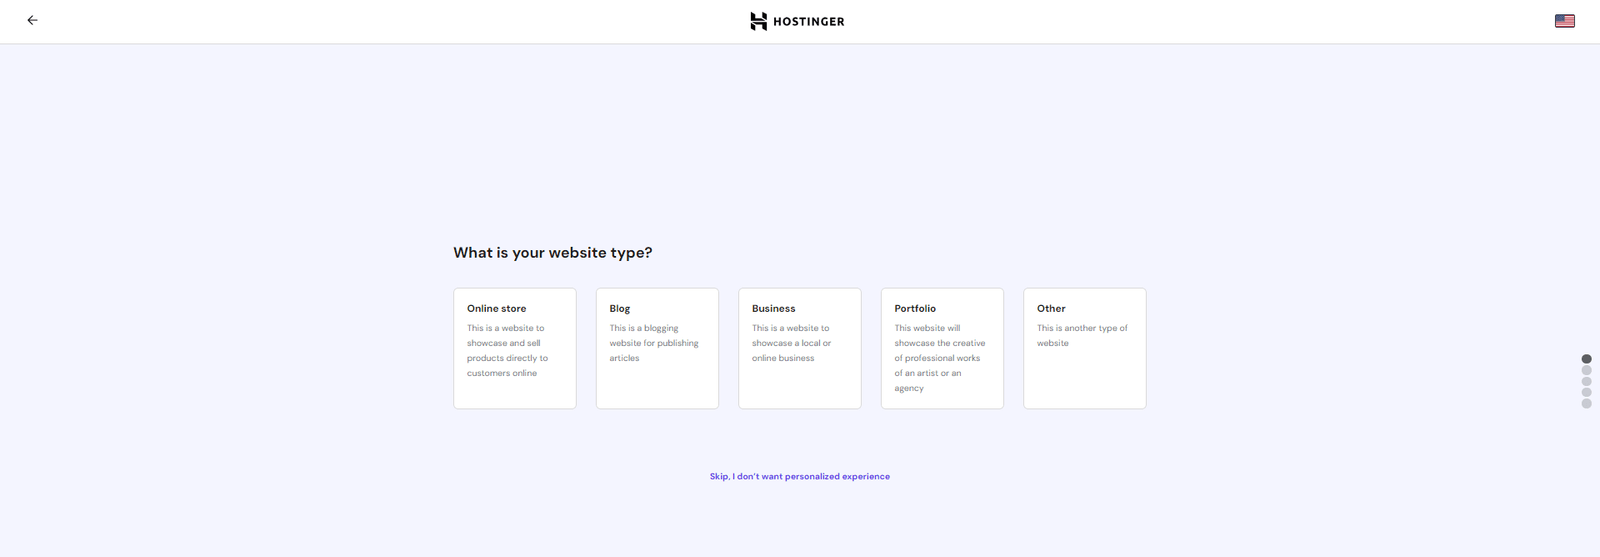
- Now choose the type of your website
- Create new website will be the next step
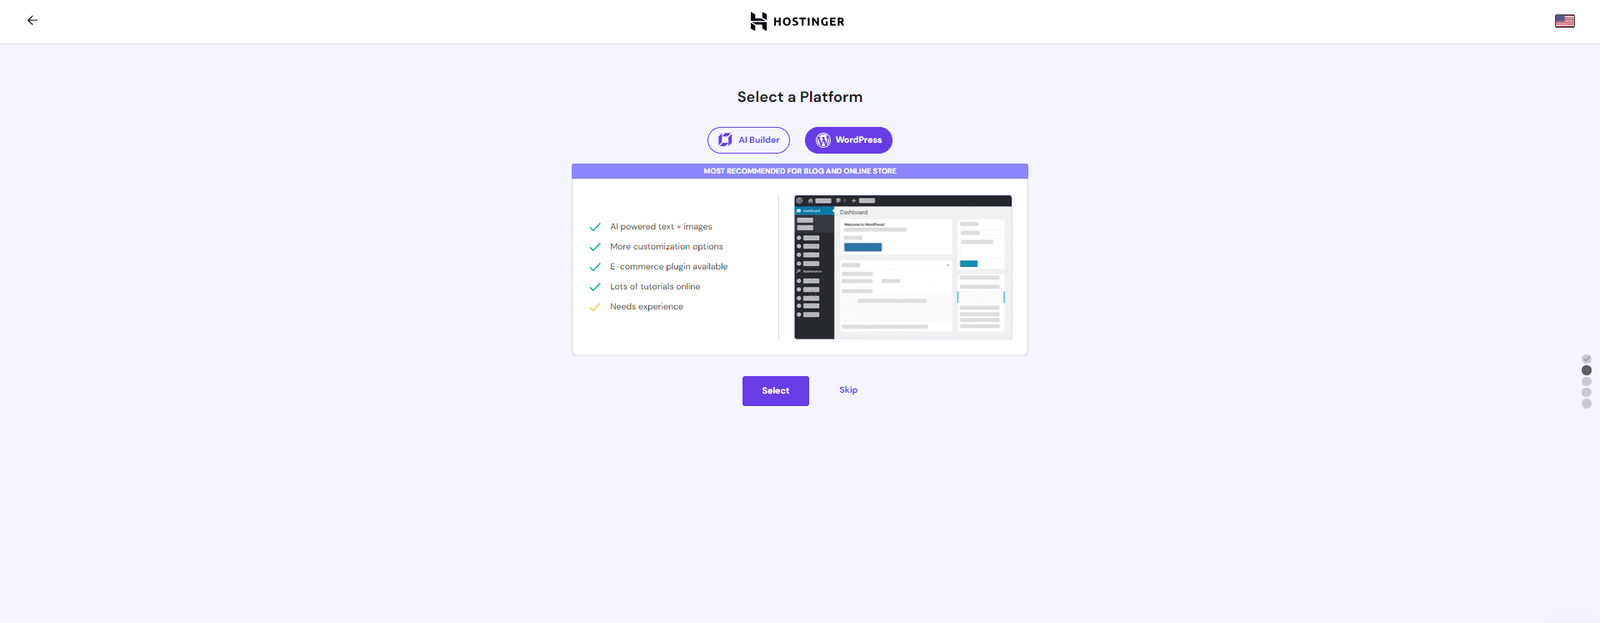
- in this step we will select WordPress and select
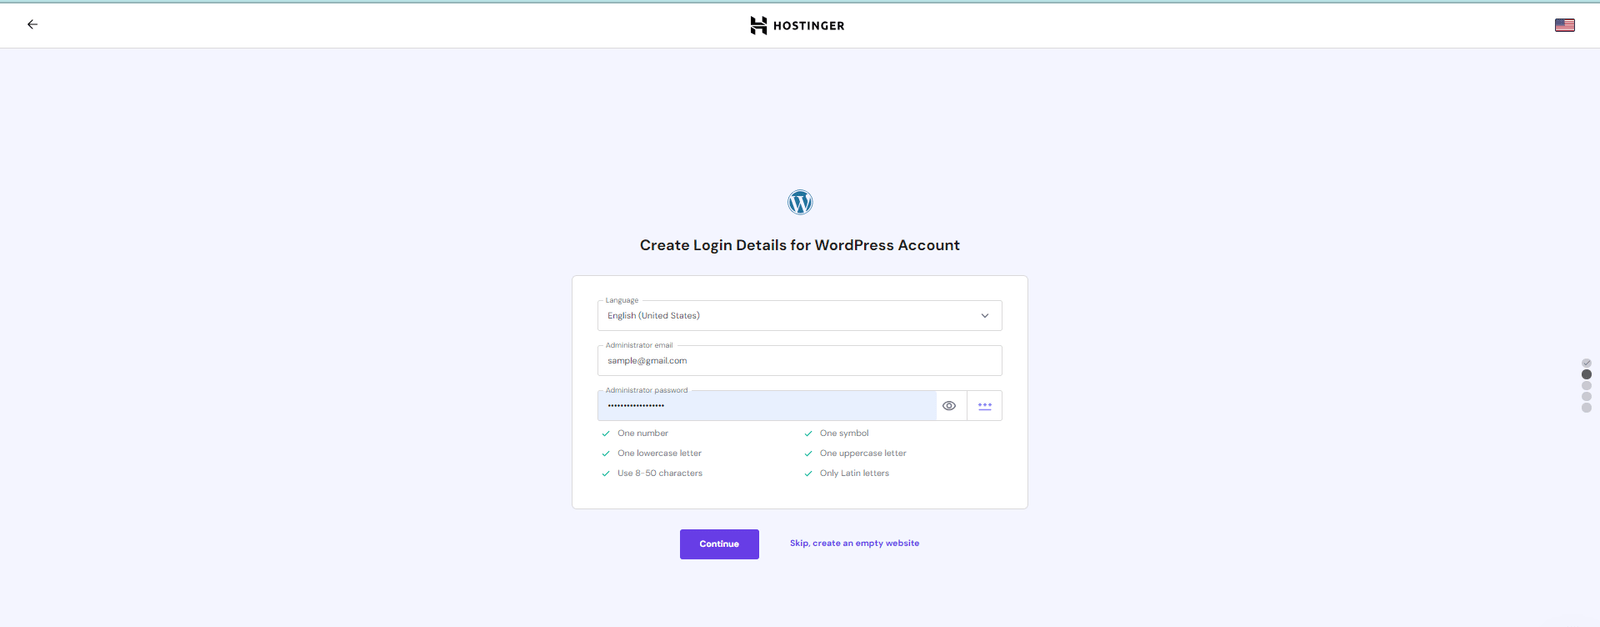
- final step will be creating credential for WordPress backend
as you can see Hostinger did all the hard work all we have to do is focusing on our content writing
Having trouble finding your domain name? Get help here.
What’s Next?
Continue on to Step 3 of this guide to learn how to use your blog.

